Tuesday, 27 October 2015
293 - 299 // 365 2015
Day 293 - Alfonso the Allosaurus is suspicious of the sparkly sprouts.
Day 294 - Studio floor at night.
Day 295 - Norwich is a big fan of the chimney. Once the temperature drops below 20C everywhere smells of smoke.
Day 296 - Painting.
Day 297 - Yup.
Day 298 - Reading pile. It got bigger than this today though.
Day 299 - I want to ride my bicycle.
Sunday, 25 October 2015
Inktober Days 12 - 21
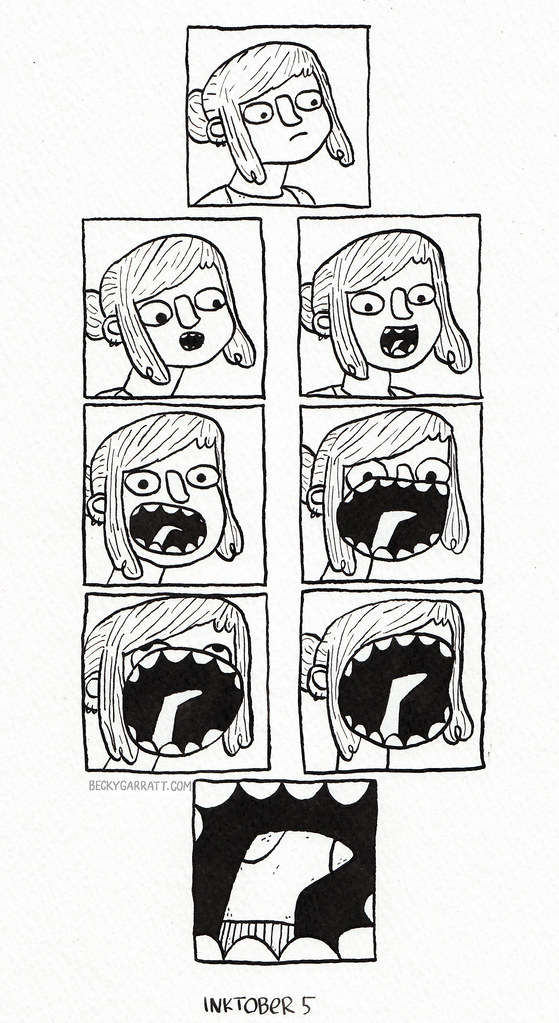
Still doodling away for Inktober. I took a couple days off while my mum and dad visited last weekend and then caught up. I also got ill and cranky and stopped posting them on Instagram because how rubbish my phone camera is was bothering my cranky self but I think for this last week I'll try and start that up again. Seeing as I'm not ill anymore (and much less cranky).
You can be a strawberry too.
Friday, 23 October 2015
Crochet ~ Cuckoo Clock
I designed a cuckoo clock for Simply Crochet and it's in the current issue (37) which also comes with cute freebie ribbon. I say cuckoo clock but it's really more of a robin clock to make it extra Christmasy, as if the icicles and Father Christmas weren't enough. ^_^ Each little piece isn't really anything much on it's own but when you sew them all together it turns into a rather fancy wall hanging. You could start making little pieces of it here and there now and by Christmas you'd have a great new decoration that you could bring out every year. And like it mentions in the magazine, this would be great with real clock hands, it shouldn't be too difficult to poke them through the crochet pieces.
I also thought it'd be fun to share these sketches with you as a little peek into the design process.
For this project the commissioning editor knew she wanted a Christmas themed cuckoo clock and which yarn I'd be using. I sent her the sketch on the left as my design idea, I wasn't sure exactly which colours I'd be sent so I just added a few bits of colour to make the design clearer. She was happy with my design (always a good moment!) and once I knew all the colours I had to work with I made a colour plan (on the right here) to figure out how to best use the yarn and used that as my guide while I was making all the pieces. I always try to draw out my ideas as much like they will look once they're crochet as possible but I am especially pleased with how similar this one turned out. (Although the pine cones aren't crocodile stitch, the one main thing it mentions lol)
As always if you make yourself (or a friend) a cuckoo (robin) clock then let me know. Comment, email, @vongarratt, #beckygarratt etc. ^_^
Wednesday, 21 October 2015
285 - 292 // 365 2015
Day 285 - Will's pretty mess.
Day 286 - Garden toadstool ^_^
Day 287 - Desk snacks.
Day 288 - Apparently I had Pusheen on the brain when I made this fella.
Day 289 - Hire me for all your fancy portrait needs.
Day 290 - Trains are pretty cool.
Day 291 - Cautious but nosey.
Day 292 - Some rare blue sky.
Monday, 19 October 2015
Crochet ~ Navi Pattern. Hey Listen, It's Free!
After a long fought battle on eBay a while ago I got myself a Legend of Zelda: Ocarina of Time cartridge for my N64 and I played it and I got excited and I made a crochet Navi to hang on the wall above the telly where we play games. Then I thought, wouldn't it be nice to share this pattern with the world so I made a how to zine which you can find here on etsy or here on folksy if you'd like to own a lovely real world copy of the pattern or it is also typed up here on this very blog for you to use for free! Or if you aren't the crocheting type but would like a crochet Navi I do have a couple ready made and listed here on etsy and here on folksy.
If you make a Navi please show me (email, @vongarratt, #beckygarratt, comment here etc.) it makes me happy and I'll share it about the place (unless you ask me not too, obviously). Also feel free to ask questions, the only patterns of mine that have gone out in public have gone through an editor so let me know if any of it makes no sense or whatever.
Anyway, I hope you like it and on with the pattern!
This is worked in the round (body) and also rows (wings) so you probably should know how to do both but I'm sure you can figure it out anyway. You also need to change colour and then it's all put together with sewing so it's not too tricky. (Although I have no idea what constitutes a beginner, intermediate or advanced pattern so let me know what you think!)
You'll need:
White, light blue and dark blue yarn
Hook
Some stuffing
A needle to sew it all together
Some notes:
I use British crochet terms (if you don't then google is your friend)
I taught myself so my abbreviations might be different to yours (I'll list them)
I use DK weight yarn and a 3mm hook. You can use whatever you like best though. It'll just turn out bigger or smaller than mine.
My Navi measures about 27cm across.
Whatever yarn you use I would probably choose a hook size smaller than they say on the label. For amigurumi keep them stitches tight and neat.
Abbreviations
st = stitch
slst = slip stitch
ch = chain
dc = double crochet
dc2tog = join two stitches together using one double crochet
htr = half treble
Body
Make 2
Starting with white make a magic circle
1. 6dc into circle, slst to join (then work in a spiral, no need to join each round)
2. 2dc in each st
3. (1dc, 2dc in next st) 6 times
4. (2dc in next st, 2dc) 6 times
Change to light blue
5. (3dc, 2dc in next st) 6 times
6. (1dc, 2dc in next st, 3dc) 6 times
7. (4dc, 2dc in next st, 1dc) 6 times
Change to dark blue
8. (2dc, 2dc in next st, 4dc) 6 times
9. (2dc in next st, 7dc) 6 times
Fasten off
The body might look more complicated than it actually is because I staggered the increases to make a smoother circle which I talked about here.
Top Wings
Make 4 pieces for 2 wings
Starting with white, chain 4
1 - 3. 3dc, ch1, turn
4. 2dc in next st, 1dc, 2dc in next st, ch1 turn
5. 2dc in next st, 4dc, ch1 turn
6. 5dc, 2dc in next st, ch1, turn
7. 2dc in next st, 6dc, ch1, turn
8 - 10. 8dc, ch1, turn
11. 2dc in next st, 7dc, ch1, turn
12. 2dc in next st, 8dc, ch1, turn
13. 2dc in next st, 9dc, ch1, turn
14 - 16. 11dc, ch1, turn
17. 9dc, dc2tog, ch1, turn
18. 8dc, dc2tog, ch1, turn
19. 9dc, ch1, turn
20. 7dc, dc2tog, ch1, turn
21 - 22. 8dc, ch1, turn
23. dc2tog, 4dc, dc2tog, ch1, turn
24. 6dc, ch1, turn
25. dc2tog, 4dc, dc2tog, ch1, turn
26. 3dc, dc2tog, ch1, turn
27. dc2tog, 2dc, ch1, turn
28. dc2tog, 1dc
Fasten off
Bottom Wings
Make 4 pieces for 2 wings
Using white, chain 5
1 - 3. 4dc, ch1, turn
4. 2dc in next st, 2dc, 2dc in next st, ch1, turn
5. 2dc in next st, 4dc, 2dc in next st, ch1, turn
6 - 7. 8dc, ch1, turn
8. 2dc in next st, 6dc, 2dc in next st, ch1, turn
9. 3dc, 4htr, 3dc, ch1, turn
10. 3dc, 4htr, 3dc
Fasten off
Finishing Up
Sew the wing pieces together and sew wings to the inside of the back body piece.
Sew front body piece onto the back piece and add a little stuffing as you go.
Stick a pin in your wall and poke Navi onto it. (This is optional obviously)
Listen out for advice. (This is not optional)
Please don't sell this pattern. I would also ask you don't sell any Navi's you make using this pattern online and please credit me as the designer of the pattern if you share it about at all. Let's all be kind and helpful to each other ^_^
Thursday, 15 October 2015
276 - 284 // 365 2015
Day 276 - Sunny yarn shelves.
Day 277 - Inktober-ing.
Day 278 - My wall hanging came back and found a home in the living room.
Day 279 - Drawing fuel.
Day 280 - A pretty good representation of me this week to be honest.
Day 281 - Good morning.
Day 282 - Good night.
Day 283 - Blah.
Day 284 - A pile of inktober-ing.
Tuesday, 13 October 2015
Inktober 2015 Days 1 - 11
I'm having a go at Inktober again this year. I'm putting them on twitter and instagram each day but thought I'd scan them in and post them here in a few sets too. (Although I hope your screen settings are better than this library one because wow is this making everything look awful).
If you're doing inktober let me know so I can have a nosey ^_^
Subscribe to:
Posts (Atom)